Setup Shopware 6 using Dockware for Developer

How to Set Up Shopware 6 Using Dockware:
A Developer's Guide

Content:

  1. Introduction
  2. What is Dockware, and Why Use It for Shopware Development?
  3. Step 1: Create Your Project Directory
  4. Step 2: Set Up Docker Compose
  5. Step 3: Build and Start the Docker Container
  6. Step 4: Accessing Your Shopware Files
  7. Step 5: Accessing the Shopware Admin and Storefront
  8. Pros and Cons of Using Dockware for Shopware Development
  9. Best Practices for Shopware Development with Dockware
  10. Common Issues and Troubleshooting
  11. Additional Resources
  12. Conclusion

Introduction:

Setting up a development environment for Shopware 6 can be streamlined using Dockware. In this guide, I’ll walk you through the process, from creating your project directory to accessing your Shopware instance. By the end, you’ll have a fully operational Shopware 6 environment ready for development.


What is Dockware, and Why Use It for Shopware Development?

Dockware is a Docker-based image solution specifically optimized for Shopware development. It provides pre-configured Shopware environments, streamlining the setup process for developers who need to quickly spin up Shopware instances without dealing with complex server setups. Dockware saves time by bundling Shopware, PHP, and database configurations in a ready-to-use Docker container.

Using Dockware for Shopware development offers several advantages:

  • Ease of Setup: Dockware eliminates the need to manually install and configure server components.
  • Pre-configured Environment: Everything you need for Shopware development is included, from PHP to MySQL to Shopware itself.
  • Consistency Across Teams: Using standardized Docker containers ensures that all developers have the same environment, minimizing inconsistencies across different machines.


Step 1: Create Your Project Directory

First, you’ll need to create a directory for your project. Let’s name it SW6. It’s important to ensure that this directory is within your WSL (Windows Subsystem for Linux) environment for seamless Docker integration.


Step 2: Set Up Docker Compose

In the SW6 directory, create a file named docker-compose.yml and paste the following configuration:


version: "3"

services:

    shopware:
      # use either tag "latest" or any other version like "6.5.3.0", ...
      image: dockware/dev:latest
      container_name: shopware
      ports:
         - "80:80"
         - "3306:3306"
         - "22:22"
         - "8888:8888"
         - "9999:9999"
      volumes:
         - "db_volume:/var/lib/mysql"
         - "shop_volume:/var/www/html"
      networks:
         - web
      environment:
         # default = 0, recommended to be OFF for frontend devs
         - XDEBUG_ENABLED=1
         # default = latest PHP, optional = specific version
         - PHP_VERSION=8.1

volumes:
  db_volume:
    driver: local
  shop_volume:
    driver: local

networks:
  web:
    external: false

This docker-compose.yml file defines the services, volumes, and networks needed to run Shopware in a Docker container.


Step 3: Build and Start the Docker Container

Once your docker-compose.yml file is set up, execute the following command to build and start your Docker container:
  docker-compose up -d 

This command will download the necessary images and start the container in detached mode. After you execute this command you should have it like this in your docker desktop app.

Step 4: Accessing Your Shopware Files

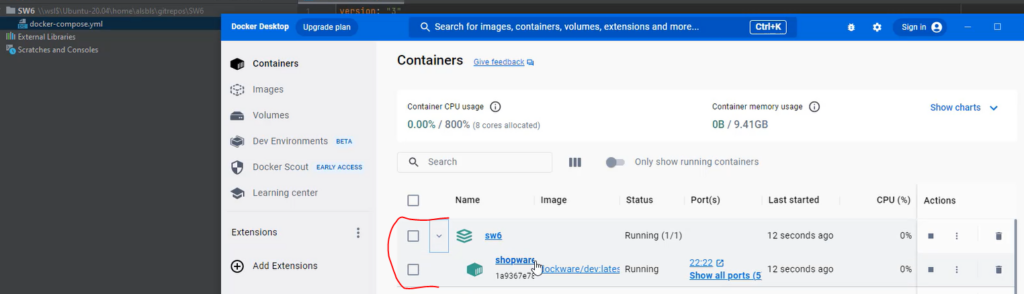
After your container is running, you can manage and browse the container’s files directly within your development environment. If you’re using PhpStorm:

  1. Browse the Files: Navigate to Tools -> Deployment -> Browse Remote Host.

  2. Configure SSH Access:

    • In the name field, enter dockware.
    • Click OK, and a new tab will open.
    • Click the „…“ button and choose to add a new SSH Configuration by selecting the + symbol.
    • Enter the following details:
      • Host: localhost
      • Username: dockware
      • Password: dockware
      • Port: 22
    • Test the connection. If successful, click Apply and OK.
    • In the next window, set the Root Path to /var/www/html/.

    You should now see the Shopware files listed in the right panel of PhpStorm.

    See the following screenshots


Step 5: Accessing the Shopware Admin and Storefront

With everything set up, you can now access the Shopware admin and storefront:

Pros and Cons of Using Dockware for Shopware Development

While Dockware is a powerful tool for Shopware developers, it’s important to weigh its advantages and disadvantages before committing to it:

Pros:

  • Time-Saving: With everything pre-configured, you can set up your Shopware environment in minutes, compared to manually configuring PHP, MySQL, and Shopware installations.
  • Flexible PHP Versions: Easily switch between PHP versions, which is especially useful for testing compatibility across different environments.
  • Simplified Environment: The Docker image includes all essential services like the web server, database, and Shopware, reducing setup complexity.
  • Xdebug Ready: Dockware makes it easy to enable Xdebug for efficient debugging, which is essential for developers.

Cons:

  • Resource-Intensive: Docker containers can consume significant system resources, which may affect performance, especially on lower-spec machines.
  • Learning Curve: For developers new to Docker, there may be a slight learning curve in understanding how containers and networks work.
  • Customization: While Dockware simplifies setup, highly specific configurations may require additional customization outside of what Dockware provides by default.

Best Practices for Shopware Development with Dockware

  1. Version Control: Always version control your docker-compose.yml and other configuration files to ensure consistency across your team.
  2. Use Volumes: Volumes allow you to persist data outside of the container lifecycle. Make sure you use them for databases and Shopware data.
  3. Performance Tweaks: If performance is an issue, consider allocating more resources (CPU and memory) to Docker through the Docker Desktop settings.

Common Issues and Troubleshooting

  • Container Not Starting: If your container isn’t starting properly, ensure you’ve allocated sufficient resources in Docker Desktop and that there are no port conflicts.
  • File Permission Issues: If you encounter permission issues while trying to access files, ensure your SSH configuration is correct, and permissions are set correctly on the volumes.

Additional Resources

For a comprehensive walkthrough, including database setup and other configurations, check out our YouTube channel.
https://www.youtube.com/watch?v=P8jIkxmivaE
 
We’ve got detailed tutorials to help you get the most out of your Shopware development environment.

Conclusion

Congratulations! You’ve successfully set up Shopware 6 using Dockware. Whether you’re building custom plugins or working on a new storefront, this environment will provide you with the flexibility and tools needed for efficient development.

Happy coding!